A regular radiator battery with heating element is a very good alternative not only to factory heaters, but also often to full-fledged heating from an electric boiler.
It is not always possible and economically feasible to lay a pipe system.
For example, in the country house, in the garage or just in the chicken coop. Someone will object and say that it is easier to hand over the cast iron to the ferrous metal, and adding a little money, buy a full-fledged oil heater.
This is far from true. It all depends on the heating area. Such a battery can be assembled from 10-20 sections, and by heating them to just 50 degrees, you can get much more heat for the same money than with 6 fins of a standard oil pan.
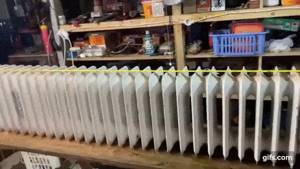
And all oil radiators are considered extremely fire hazardous devices. The same cannot be said about a battery with ordinary water.

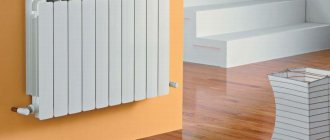
In addition, cast iron and aluminum radiators will have a lower surface temperature, less odor from paint and oil and, as a result, cleaner indoor air.
In general, for a dacha or garage it is cheaper, simpler and better than small factory-made heating devices and ducts.

However, as with any homemade product, the main thing in this matter is safety. Your design must have protection against overpressure and current leakage.
How to correctly assemble such a battery and not make serious mistakes? Let's figure it out.
Radiators
For such a homemade heater, two types of radiators are usually used:
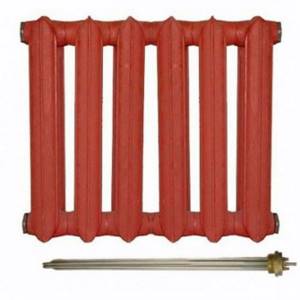
- cast iron with 32mm (1 1/4 inch) thread
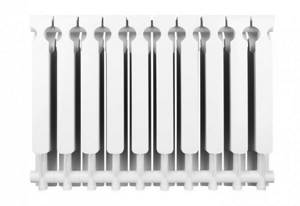
- aluminum or bimetallic with 25mm (1 inch) thread
Cast iron can be used even without heating element. Pick up the battery and start moving it from corner to corner until you get warm

