The cellar is an excellent place to store home-grown vegetables and jars of pickles. But the cellar requires careful maintenance at least once a year. If you do not carry out treatment, then mold and mildew will grow in the cellar, and your vegetables will simply spoil before they last until next summer.
Let's look together at the main points of cellar processing, which usually need to be done in the month of July.
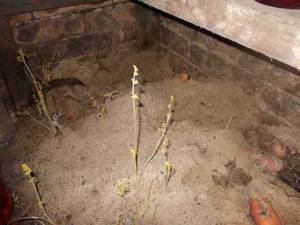
1) Remove old, last year’s vegetables from the cellar. Usually, by the end of July, the main vegetables are already growing in the beds, so we simply throw away all last year’s vegetables.
2) Clean the cellar clean. We remove all the garbage from it, the remaining sand - to the ground.
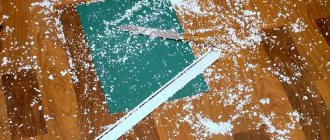
3) We take out all the boards on which the cans stood. We also take out all the boards that serve as fences for storing vegetables (potatoes, carrots, etc.). Wash all these boards with warm water and soap and set them to dry in a ventilated area or in the sun.
After a week, when the boards have dried well, be sure to treat them with a disinfection solution (see below).
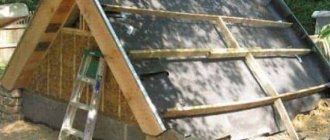
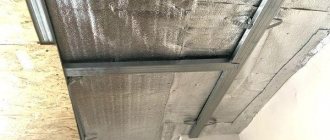
4) Drying the cellar. We leave the cellar open, or close it with a lattice lid. This will allow it to dry thoroughly before disinfection. It is necessary to dry the cellar for at least one week, but best of all - two weeks in dry weather. During this time, the dampness in the cellar will disappear and the mold will die due to dryness. And subsequently, disinfection of the cellar will be much more effective in preventing the growth of fungus than if carried out in a damp room.
5) How to treat the cellar? There are several means for treating premises: copper sulfate, lime, sulfur, fluoride-containing pastes, lime vapors when extinguishing it. But, it must be said that most of these processing agents are very harmful to humans and accumulate in vegetables, which will then be stored in the cellar. Some advise using bitumen, tar, drying oil to treat boards in the cellar, painting the boards, etc. In principle, this can be done. But this won't save you for long. Plus, all of these chemicals are harmful. And lime and copper sulfate are the least harmful of all of the above, and are even used to treat plants in the garden. Therefore, you can safely handle them.
6) We get rid of mold in the cellar and fungus with the following steps.
Prepare the disinfection solution as follows:
- 1 kg of slaked lime (sold in hardware and paint stores) - 100 g of copper sulfate (sold in hardware or garden stores)
First, copper sulfate is diluted in water, and slaked lime is diluted separately in water. Pour the lime into the vitriol in a thin stream, stirring the mixture constantly. The resulting mixture is called “Bordeaux” and is used to disinfect and combat fungal diseases of plants and trees. In our case, we take a brush, moisten it in the Bordeaux mixture and grease it with all the previously exposed boards, and all the walls and ceiling of the cellar.
Attention: if there is already fungus or mold on the walls of the cellar, be sure to remove it and burn the area with a blowtorch. If you don’t have a blowtorch, then simply lubricate the area with copper sulfate solution several times. And then whitewash all the walls twice with a solution of Bordeaux mixture.
If fungus or mold has grown on the boards where the jars stand in the cellar, be sure to remove the fungus from the board. Coat the board with copper sulfate, let it dry for a couple of hours, and then whitewash it with Bordeaux mixture twice. If the board is severely damaged, it is better to replace it with a new one, which should also be treated in advance and disinfected with vitriol and Bordeaux mixture.
7) We pour a solution of copper sulfate onto the ground in the cellar, let it soak, and then cover it with a thin layer of lime powder. On the ground where the vegetables will be stored, pour a finger-thick layer of sand mixed with lime. Sand and lime will absorb excess moisture from the cellar and prevent fungus from developing in it.
So, we repeat the main stages of processing the cellar before adding vegetables to it. We carry out all operations in July or in the first ten days of August (we make a note in the calendar so as not to forget).
- open for 2 weeks and dry the cellar - pull out all the boards and dry them - pull out all last year's vegetables and sand right down to the ground - prepare Bordeaux mixture, copper sulfate and lime powder - treat the cellar and all the boards as indicated above - dry everything in within two days after treatment
Following these recommendations every summer, along with creating high-quality ventilation in the cellar, will ensure the safety of your preparations for many months until the next harvest.
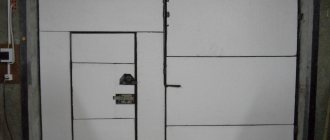
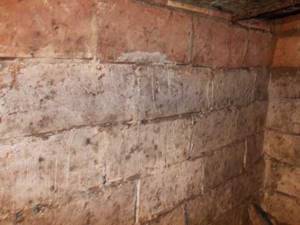
A musty smell, the formation of mold and fungal growths on the surface of the walls and ceiling of the cellar, condensation moisture in the form of drops and a cloying feeling of dampness - all these are clear signs of insufficient air exchange in the basement. A cellar can be built on a separate plot or under a house, but it is often more convenient to build it in a garage. Despite its structural simplicity, the cellar is still able to compete with the most modern refrigerator. However, a real owner needs to know the secrets not only about how to properly build a basement, but also how to dry the cellar in the garage in order to preserve the quality of the products for longer.