Do I need to prime the foam itself?
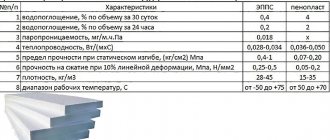
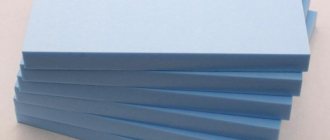
Facade polystyrene foam and extruded polystyrene foam have a dense structure. They do not absorb moisture. Therefore, priming the foam itself does not make sense.
In order to remove dust, only the wall can be primed. Or if the wall is smooth (for example, made of concrete), then you can treat the walls with concrete contact to roughen the surface.
Also, extruded polystyrene foam requires special processing. The ugly surface should initially be sanded or scratched with a wire brush to roughen it.
Primer for foam plastic: composition and features
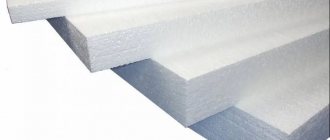
Facade expanded polystyrene has a fairly dense structure and does not absorb moisture. According to building regulations, it is required to be primed. Thanks to this, it is possible to increase the adhesion of the treated surface with the applied plaster and adhesive composition. The soil also helps reduce water absorption of the porous base.
Priming the foam before using plaster is considered an important technological operation. With its help, it is possible to increase the adhesion of mortar mixtures of finishing finishes and level the layers. The primer helps absorb excess material while grouting the plaster.
Many primer mixtures contain bactericidal ingredients. After treating the walls, they reduce the likelihood of fungi and mold.
Based on their composition, there are alkyd, polyvinyl acetate, and phenolic primers. They also come in glyphthalic, perchlorovinyl, and acrylic. The composition should be selected taking into account the performance characteristics of the plaster or tile mortar. This is also affected by the area of application.
Priming when insulating walls with foam plastic
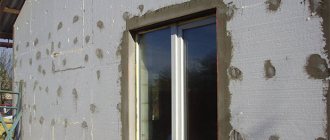
Due to its ease of use and heat-saving properties, foam plastic is very often used for cladding external walls. Before attaching the foam to the wall, it is necessary to complete the preparatory steps. Carefully remove the old decorative coating and treat the damage. After this, use a deep penetration primer. This will compact the structure of the construction materials and increase the degree of protection from further destruction.
Attention! Walls with a dense structure, such as brick, are primed once, but porous mineral materials must be coated at least twice.
After thoroughly drying the material, seams and cracks should be sealed. Then install the starting profile and proceed to gluing the polystyrene foam boards. The glued slabs at the corners are fixed with dowels. Covered with reinforcing mesh and again with adhesive solution. The glue used is “Sevener” from Knauf. To dry completely, you need to leave the work for a day. Next, a layer of decorative plaster is applied for leveling. Before plastering, the surface should be sanded and primed. Before grouting, it must dry (1-4 days).
Primer is applied again before painting. In this case, the primer material is selected depending on the decorative coating. This is the basic scheme for priming foam when insulating walls.
How to plaster: choosing a mixture
For plastering PPS, you cannot immediately use ordinary cement-sand mortars. They will quickly peel off from the surface of the slabs. Therefore, the first layer is applied with special polystyrene foam plasters. In addition to cement and fine sand, they contain glue and other additives that ensure strong adhesion of the mixture to the walls. After applying the foam glue, you can already create a base plaster layer using a cement-sand mixture.
Adhesive plaster is intended for attaching PPS and some other types of insulation to various mineral substrates.
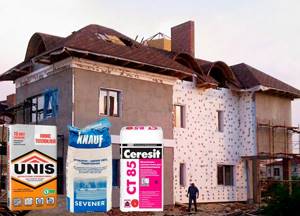
Several popular brands of adhesive plasters for polystyrene foam:
- Ceresite ST 85. Compressive strength (a parameter indicating the ability of the material to withstand destruction and mechanical loads) - 8 MPa. Frost resistance 100 freeze-thaw cycles.
- Knauf Sevener. Plaster of this brand has all the characteristics of Ceresit ST 85, differing only in slightly lower compressive strength (7.5 MPa) and frost resistance (75 cycles).
- Founds Coverplix C117. Plaster-adhesive mixtures of this series have high compressive strength - 10 MPa, frost resistance of 75 cycles. The series includes several special types of plaster: winter, high-strength, reinforced, etc.
- UNIS Thermal adhesive for insulation materials. Its main characteristics: frost resistance of 100 cycles, high vapor permeability, suitable for machine application.
- Adhesive plaster for polystyrene foam Dali. It is based on cement. The mixture is elastic and has increased compressive strength.
The presence of reinforcing microfibers in the plaster mixture does not eliminate the need to use reinforcing mesh. Therefore, a fiberglass construction mesh must be attached to the polystyrene foam underneath the plaster.
To create a base (not decorative) layer, you can use ready-made cement-sand mixtures . They are available in almost every hardware store.
To independently prepare a C-P solution, use cement grade M400 or M500. Its ratio with sand will be from 1:4 to 1:5. River sand is cleaner and contains no clay impurities. But quarry sand has better grip because its edges are sharper.
The proportion Water/CPS = 0.8-1.2, depends on the moisture content of the sand.
To finish the external walls of a building, special decorative plasters are used, for example:
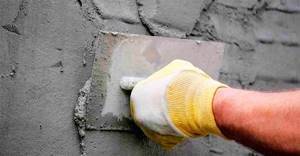
- Ceresit ST 60, 63, 64. These are decorative pebble acrylic plasters, recommended by the manufacturer, including for coating polystyrene boards. Apply over base coat. Ceresit ST series 60 is the basis for tinting. Color at customer's choice.
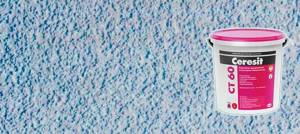
- Ceresite ST 35, ST 137. These are mineral mixtures. ST35 gives the surface a “bark beetle” texture, ST 137 pebble. There are three versions in stock: white, painted and “Winter”. Winter version suitable for work at temperatures from 0 C.
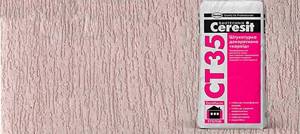
- Ceresit ST 174, 175. Plasters in this series are made on a silicate-silicone base. ST 174 pebble and ST 175 “bark beetle” are the base for tinting.
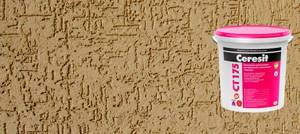
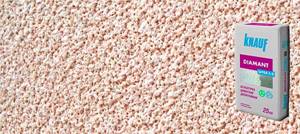
- Knauf Diamond. This is a mineral structural decorative plaster. Suitable for painting. Compressive strength 3.5 MPa, frost resistance 50 cycles. Best used in combination with a base coat of Knauf Sevener.
- Stolit AF. The plaster mixture of this brand is classified as structural acrylic and gives the surface a “lamb” relief.
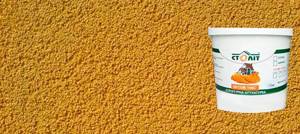
When choosing a finishing decorative coating for polystyrene foam, you need to take into account that acrylic plasters are more resistant to atmospheric influences.
Rules for applying the primer mixture
Basic principles for using a primer solution before painting:
- the priming mixture must be mixed;
- depending on the area and type of primer material, a paint or regular brush, roller, or sometimes spraying are used for application;
- it is necessary to give all layers time to dry thoroughly, this will increase its resistance to damage;
- Don't forget about personal protective equipment.
Compliance with all finishing technologies when insulating a room with foam plastic will allow the structure to perform protective and insulating functions for a long time. And restoration or repair of the facade will not be required for a long time.
How to make your own primer. The answer is here.
Pros and cons of using a primer layer under foam
Penoplex primer has many advantages. The main advantages include the following:
- increasing the adhesion of the base to finishing materials;
- ease of use;
- increase in heat-saving properties;
- prevention of mold and fungi formation.
However, the material also has certain disadvantages:
- the need for careful preparation of the surface before applying the material;
- the need for the correct choice of composition;
- high labor intensity of work.
See also
Types and ratings of airbrush paints, how to dilute with your own hands and apply
Foam plaster - step-by-step technology
So, as soon as the primer has dried, you must immediately plaster the foam. You should know that you should not delay this process, because otherwise the dust will sit on the surface again and the foam will have to be primed again.
First, as expected, you will need to make a plaster solution. The proportions for preparing plaster for polystyrene foam can be found in the manufacturer’s instructions; there is nothing complicated there. The only thing you need to consider is the consistency of the solution and not to overdo it with the amount of water.
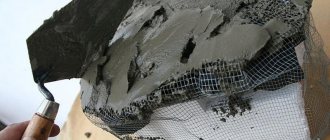
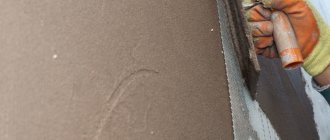
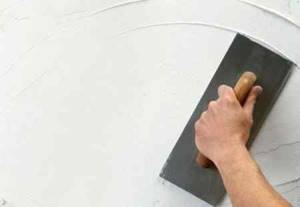
Apply the plaster to the foam plastic with a wide metal spatula, all the time ensuring the evenness and thickness of the applied layer. Ideally, the thickness of the plaster should not exceed more than 4-5 mm.
Preparing the surface and attaching the mesh to foam plastic
Plastering on polystyrene foam includes several important stages, the proper execution of which determines the durability of the finish. First of all, care should be taken to level the surface on which the foam will be attached. If the walls of the house are already insulated, then you can skip this stage and move on.
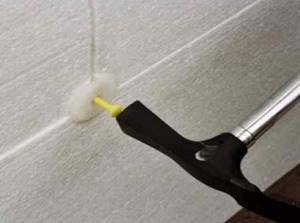
Today, there are various building mixtures for foam plastering. The most common of them are bark beetles, bayramix and others. By the way, you can read about how to apply bark beetle to polystyrene foam by going to another section of the site.
Also, before plastering the foam, be sure to take care of the necessary tools to do the job. First of all you will need:
- Graters and metal spatulas;
- Master OK;
- Empty containers for solution;
- Drill with mixer attachment for mixing plaster mixture.
So, you will initially need to prepare the surface of the foam before applying plaster. Here it is important to take into account the correct alignment of the joints with each other and the absence of any gaps between them. If they are, then it’s as easy as shelling pears to seal them with regular polyurethane foam.
Next, you need to attach the reinforcing mesh to the foam. You should not refuse to use it, since dried plaster can simply fall off the surface of the foam over time. It is better to use a strong reinforcing mesh for foam plastic, the installation of which should begin from the corners of the building.
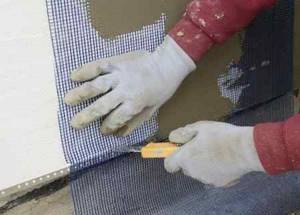
After installing the reinforcing mesh, you need to wait 2-3 hours, after which you will need to rub the surfaces with a float or not too coarse sandpaper.
Do I need to prime the foam before plastering?
Priming the surface will increase the subsequent adhesion of the finishing material to it. The foam should be primed using a roller or a wide brush. The tool should have a small pile, and it is best to use foam rubber.
It is imperative that after the primer is applied to the foam, you need to give some time for the surface to completely dry. Only after this can you begin plastering the foam.
